Step-by-Step Guide to Recoating a Timber Floor with a Lacquered Finish
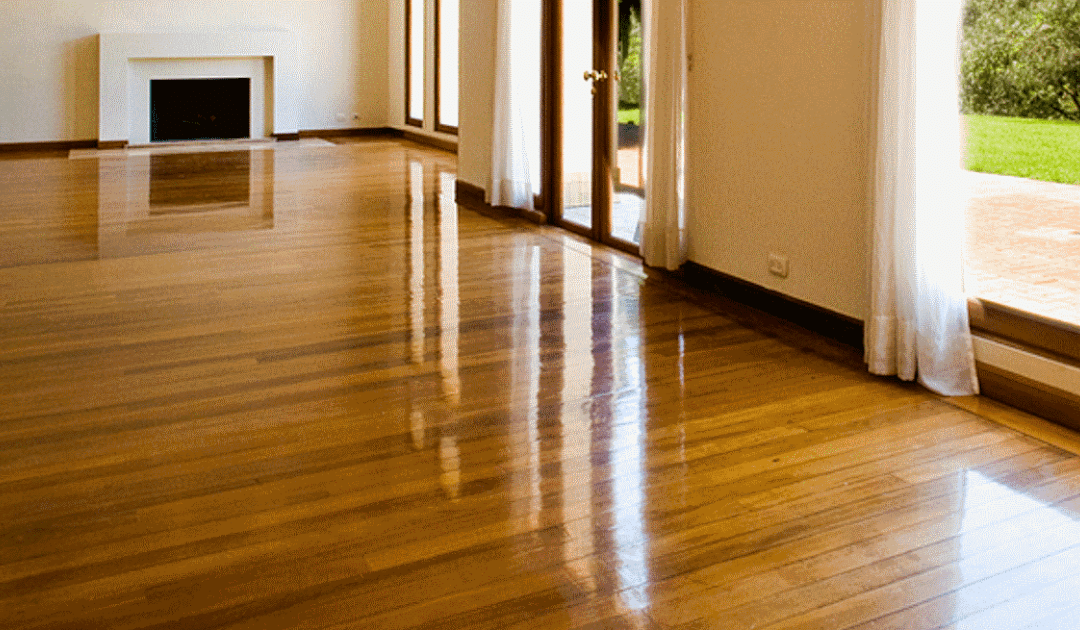
Renovating timber floors is a transformative process that can breathe new life into any space, adding warmth, charm, and elegance to your home or office. Among the various refinishing options available, recoating with a lacquered finish is famous for its durability, versatility, and aesthetic appeal. In this comprehensive guide, we’ll walk you through the step-by-step process of recoating a timber floor with a lacquered finish, ensuring a smooth and stunning result that enhances the beauty of your space.
Step 1: Preparation
Before beginning the recoating process, thoroughly preparing the timber floor surface is essential. Start by removing all furniture, rugs, and obstacles from the area to be recoated. Next, clean the floor surface with a vacuum cleaner or broom to clear dust, dirt, and debris. Use a mild detergent solution and a damp cloth to clean stubborn stains or spills. Allow the floor to dry completely before proceeding to the next step.
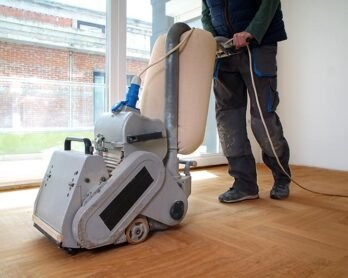
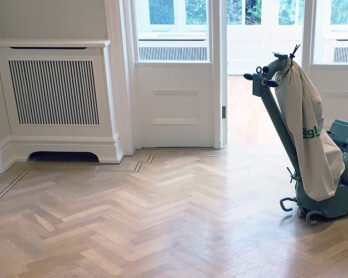
Step 2: Sanding
Sanding is a critical step in the recoating process, as it helps to remove the existing finish, smooth out imperfections, and prepare the surface for the new lacquered finish. Use a floor sander with fine-grit sandpaper to sand the entire floor surface evenly. Pay close attention to areas with scratches, wear, or unevenness, ensuring that the surface is smooth and uniform throughout. Once Floor Sanding Melbourne is complete, use a vacuum cleaner or tack cloth to remove dust and debris from the floor.
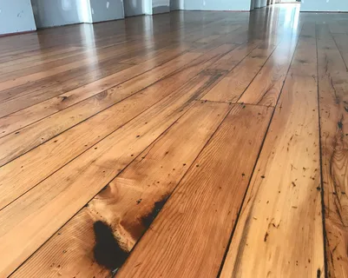
Step 3: Inspection and Repair
After sanding:
- Scrutinize the floor surface for any remaining imperfections, such as scratches, gouges, or gaps between floorboards.
- Use wood filler or putty to fill in any cracks or gaps, and sand the repaired areas lightly to ensure a smooth finish.
- If necessary, apply wood stain or colour-matching filler to blend the repaired areas seamlessly with the rest of the floor.
- Allow the filler to dry completely before proceeding to the next step.
Step 4: Application of Lacquer
Once the floor surface is prepared and repaired, it’s time to apply the lacquer finish. Choose a high-quality, water-based polyurethane lacquer specifically designed for timber floors. Begin by pouring a small lacquer into a clean paint tray or bucket. Use a high-quality synthetic bristle brush or lambswool applicator to apply the lacquer evenly to the floor surface, working in small sections at a time. Avoid over-applying the lacquer, leading to streaks, bubbles, or an uneven finish.

Step 5: Drying and Curing
After applying the first coat of lacquer, allow the floor to dry completely according to the manufacturer’s instructions. This typically requires 24-48 hours of drying time, depending on the humidity and temperature of the environment. Once the first coat is dry, lightly sand the surface with fine-grit sandpaper to smooth out imperfections or rough spots. Remove dust and debris with a vacuum cleaner or tack cloth before applying additional coats of lacquer as needed.
Step 6: Finishing Touches
Once the final coat of lacquer is applied and dried, inspect the floor surface for any remaining imperfections or inconsistencies. Use fine-grit sandpaper to sand any rough spots or high areas, and touch up any areas requiring additional lacquer. Once the floor surface is smooth and uniform, allow the final coat of lacquer to cure fully according to the manufacturer’s instructions before replacing furniture and allowing foot traffic on the floor.
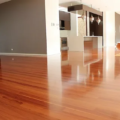
In conclusion, recoating a timber floor with a lacquered finish is a rewarding and transformative process that can enhance the beauty and durability of your space. By following this step-by-step guide and preparing the surface properly, applying the lacquer evenly, and allowing for adequate drying and curing time, you can achieve stunning results that will stand the test of time. If you’re considering recoating your timber floor with a lacquered finish, consider enlisting the services of professional Melbourne timber floor sanding services to ensure a flawless and long-lasting result.